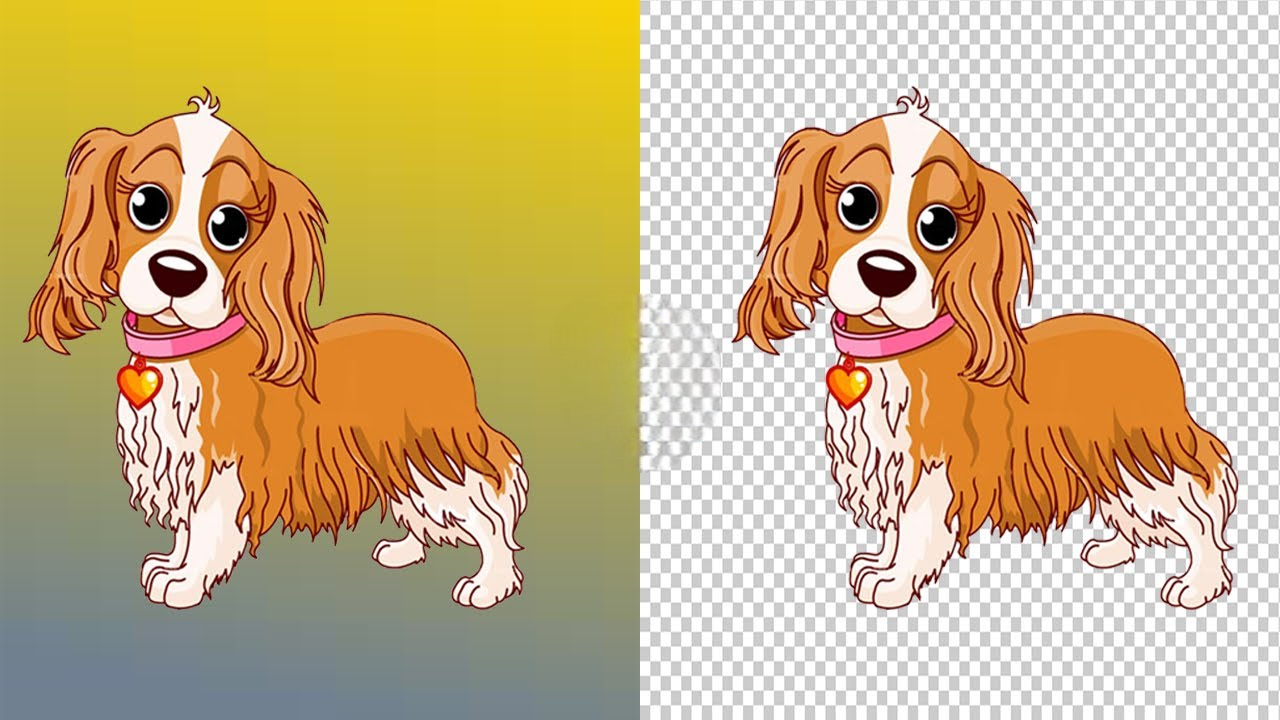
Removing backgrounds from images is a crucial skill in graphic design, e-commerce, content creation, and social media marketing. Whether you’re trying to create clean product images, design an eye-catching presentation, or just want to eliminate distractions from a photo, learning to separate subjects from their backgrounds can take your visuals to the next level.
This blog will cover different techniques, tools, and approaches to background removal. We will explore everything from simple automated tools to more advanced, manual methods for achieving professional results. By the end, you’ll be equipped with the skills to remove backgrounds efficiently, no matter the complexity of the image.
Why Remove Backgrounds?
Removing backgrounds from images has become an essential task across a variety of industries. But why is it so important?
a. Enhancing Visual Appeal
Background removal helps to sharpen the focus on the primary subject, making images cleaner and more visually appealing. When there’s no clutter, the subject stands out, which is vital for marketing and advertising.
b. Flexibility for Design
Once an image’s background is removed, the subject can be placed in different contexts. Whether you’re designing a web banner, creating thumbnails for YouTube, or composing a marketing campaign, isolated subjects offer versatility. You can place them against any background of your choosing.
c. Professionalism in Product Photography
E-commerce businesses require clean, distraction-free product images. Removing the background ensures the product is front and center, resulting in a polished and professional look. This is particularly important on platforms like Amazon or eBay, where high-quality product images often lead to higher sales.
Basic Principles of Background Removal
Before diving into tools and techniques, it’s essential to understand the fundamental concepts of background removal.
a. Image Layers
In many graphic editing programs, images are broken down into layers. Think of layers as transparent sheets stacked on top of one another. When removing a background, you isolate the subject on one layer and discard the background layer.
b. Masking and Transparency
Masking is a non-destructive technique where parts of an image are hidden but not erased. Transparency comes into play when you want part of the image to remain see-through, such as when dealing with glass or water. Mastering these principles is key to producing smooth, professional-looking results.
Tools and Software for Background Removal
There are numerous tools available to remove backgrounds, each with varying degrees of complexity. Some tools automate the process, while others offer greater control for more intricate edits.
a. Online Background Removal Tools
- Remove.bg: A free tool that uses AI to automatically remove backgrounds with a single click. This is perfect for quick jobs.
- Fotor: Offers a more customizable approach by allowing manual refinement after automatic removal.
- Clipping Magic: Allows users to interactively refine the cutout by marking foreground and background areas.
b. Desktop Software
- Adobe Photoshop: The most versatile and powerful tool for background removal. It offers a range of tools, from quick selection to detailed masking.
- GIMP: An open-source alternative to Photoshop. It includes tools like Fuzzy Select and the Paths tool for precise background removal.
- CorelDRAW: Another professional-grade option with powerful features for vector image editing and background removal.
c. Mobile Apps for Background Removal
- PhotoRoom: A mobile app that uses AI to quickly remove backgrounds and offers additional editing features.
- Background Eraser: An Android app that lets users manually remove the background from images with ease.
Automatic Background Removal Methods
If you need a fast and simple solution for background removal, automated tools are your best bet. Thanks to AI advancements, these tools can quickly distinguish between the subject and the background.
a. AI-Powered Tools
Modern AI-powered tools, like Remove.bg and Photoshop’s AI Selection, analyze the image and identify the subject with impressive accuracy. These tools are best for images with clear subject-background contrast but may struggle with complex backgrounds or intricate details, such as hair.
b. Online Tools
- Remove.bg: Just upload your image, and the tool handles the rest. It works well for simple backgrounds.
- Fotor: Offers a background remover with additional editing capabilities like cropping, resizing, and adding new backgrounds.
- Canva Pro: Canva’s paid version includes a “Background Remover” tool that’s effective for design projects, presentations, and social media graphics.
Pros:
- Quick and easy
- No software installation needed
- Ideal for beginners or when time is of the essence
Cons:
- Limited control over details
- Not suitable for complex images
- AI may misinterpret certain elements, leading to mistakes
Manual Background Removal Techniques
While automated tools are convenient, manual background removal offers more precision and control, especially for complex images. Below are popular techniques for manually removing backgrounds.
a. Using Photoshop’s Magic Wand and Lasso Tool
Photoshop offers several tools to manually remove backgrounds:
- Magic Wand Tool: Selects pixels based on color. It’s best for images with high contrast between the subject and background.
- Lasso Tool: Allows freehand selection, making it useful for irregular shapes.
- Polygonal Lasso Tool: Lets you click points around the image to create straight-edged selections.
These tools work well for images with clearly defined edges but might require touch-ups on more detailed parts of the image.
b. Pen Tool for Detailed Cutouts
For complex images, Photoshop’s Pen Tool is the best method. Though it’s time-consuming, it offers the most accuracy, especially for images with sharp edges or complex subjects like hair. You manually draw a path around the subject and convert it into a selection for precise cutting.
c. Layer Masking
Layer masking is a non-destructive method where you hide parts of the image without deleting them. This technique is particularly useful when dealing with transparent elements, such as glass, or when you need to fine-tune the selection.
d. GIMP’s Fuzzy Select Tool
For those using GIMP, the Fuzzy Select Tool works similarly to Photoshop’s Magic Wand, selecting pixels based on similarity in color. GIMP also offers a Foreground Select Tool, where you draw a rough outline around the subject, and the software attempts to identify it based on your selection.
Using Background Removal for Different Purposes
Once you’ve mastered background removal, you can use it for various purposes. Let’s explore some common use cases.
a. E-Commerce Product Photos
Online retailers often require product photos with transparent or white backgrounds. Background removal ensures the focus remains on the product itself, providing a cleaner, more professional look. This is crucial for product listings on websites like Amazon, eBay, or Shopify.
b. Social Media Graphics
Background removal allows creators to easily place subjects into different environments, making their posts more dynamic and engaging. Whether you’re creating Instagram stories, YouTube thumbnails, or Pinterest pins, the ability to remove and replace backgrounds is invaluable.
c. Professional Presentations
Presenters and marketers can remove backgrounds from stock images or personal photos to create clean slides. The absence of unnecessary details helps maintain audience focus on the core message.
Common Challenges and How to Overcome Them
Background removal can be tricky, especially when dealing with complex images. Here are some common challenges and solutions.
a. Handling Complex Backgrounds
If the background is busy or similar in color to the subject, automated tools may struggle. In such cases, manual methods (like the Pen Tool or Layer Masking) provide better control, allowing you to accurately separate the subject.
b. Fine Details (Hair, Fur, Transparent Objects)
One of the most challenging aspects of background removal is dealing with fine details like hair, fur, or transparent objects. These require more advanced techniques:
- Use Photoshop’s Refine Edge Brush to capture wispy strands of hair.
- In GIMP, you can use the Foreground Select Tool and manually refine the mask.
- For transparent objects, you may need to adjust the Opacity and blend modes to maintain realistic reflections and highlights.
Advanced Techniques: Refining Edges and Shadows
Even after removing a background, the image might still need refining. Edges may appear jagged, or the subject might look unnatural without shadows.
a. Smoothing Edges and Feathering
After removing a background, edges can appear too sharp or pixelated. In Photoshop, use the Feathering option to soften edges and blend the subject with a new background seamlessly. You can also use the Refine Edge feature to add subtle smoothness to your selection.
b. Dealing with Shadows and Reflections
When placing a subject on a new background, adding shadows and reflections ensures it looks natural. In Photoshop, create a new layer beneath the subject and use the Brush Tool to paint a soft shadow. You can then adjust the opacity and use the Gaussian Blur filter to make it look more realistic.
For reflections, duplicate the subject layer, flip it vertically, and reduce the opacity to simulate a reflection on glossy surfaces.
Conclusion
Removing backgrounds from images is a versatile skill with a wide range of applications, from professional product photography to fun social media posts. Whether you prefer using automatic tools for quick edits or manual techniques for precision, understanding the methods available allows you to choose the best approach for your needs.
Start with simple, automated methods if you’re a beginner, and gradually work your way up to more complex, manual techniques. By mastering background removal, you’ll be able to produce clean, professional images that stand out in any context.
With practice and the right tools, removing backgrounds will become a straightforward part of your image-editing process.


